If you’ve ever looked in the mirror and wished your teeth were whiter, more even, or just a bit more polished, you’re not alone. Dental veneers have become one of the most popular solutions for creating a confident, natural-looking smile. They’re thin, custom-made shells designed to improve the appearance of your teeth — but the process involves more than just applying them.
To help you understand what goes into getting your dream smile, here’s a simple, step-by-step look at how the dental veneer process works from start to finish.
1. Consultation and Smile Evaluation
The journey begins with an initial consultation. Your dentist will examine your teeth, discuss your goals, and determine whether dental veneers are the best option for you. This step is all about understanding your expectations and ensuring your teeth and gums are healthy enough for treatment.
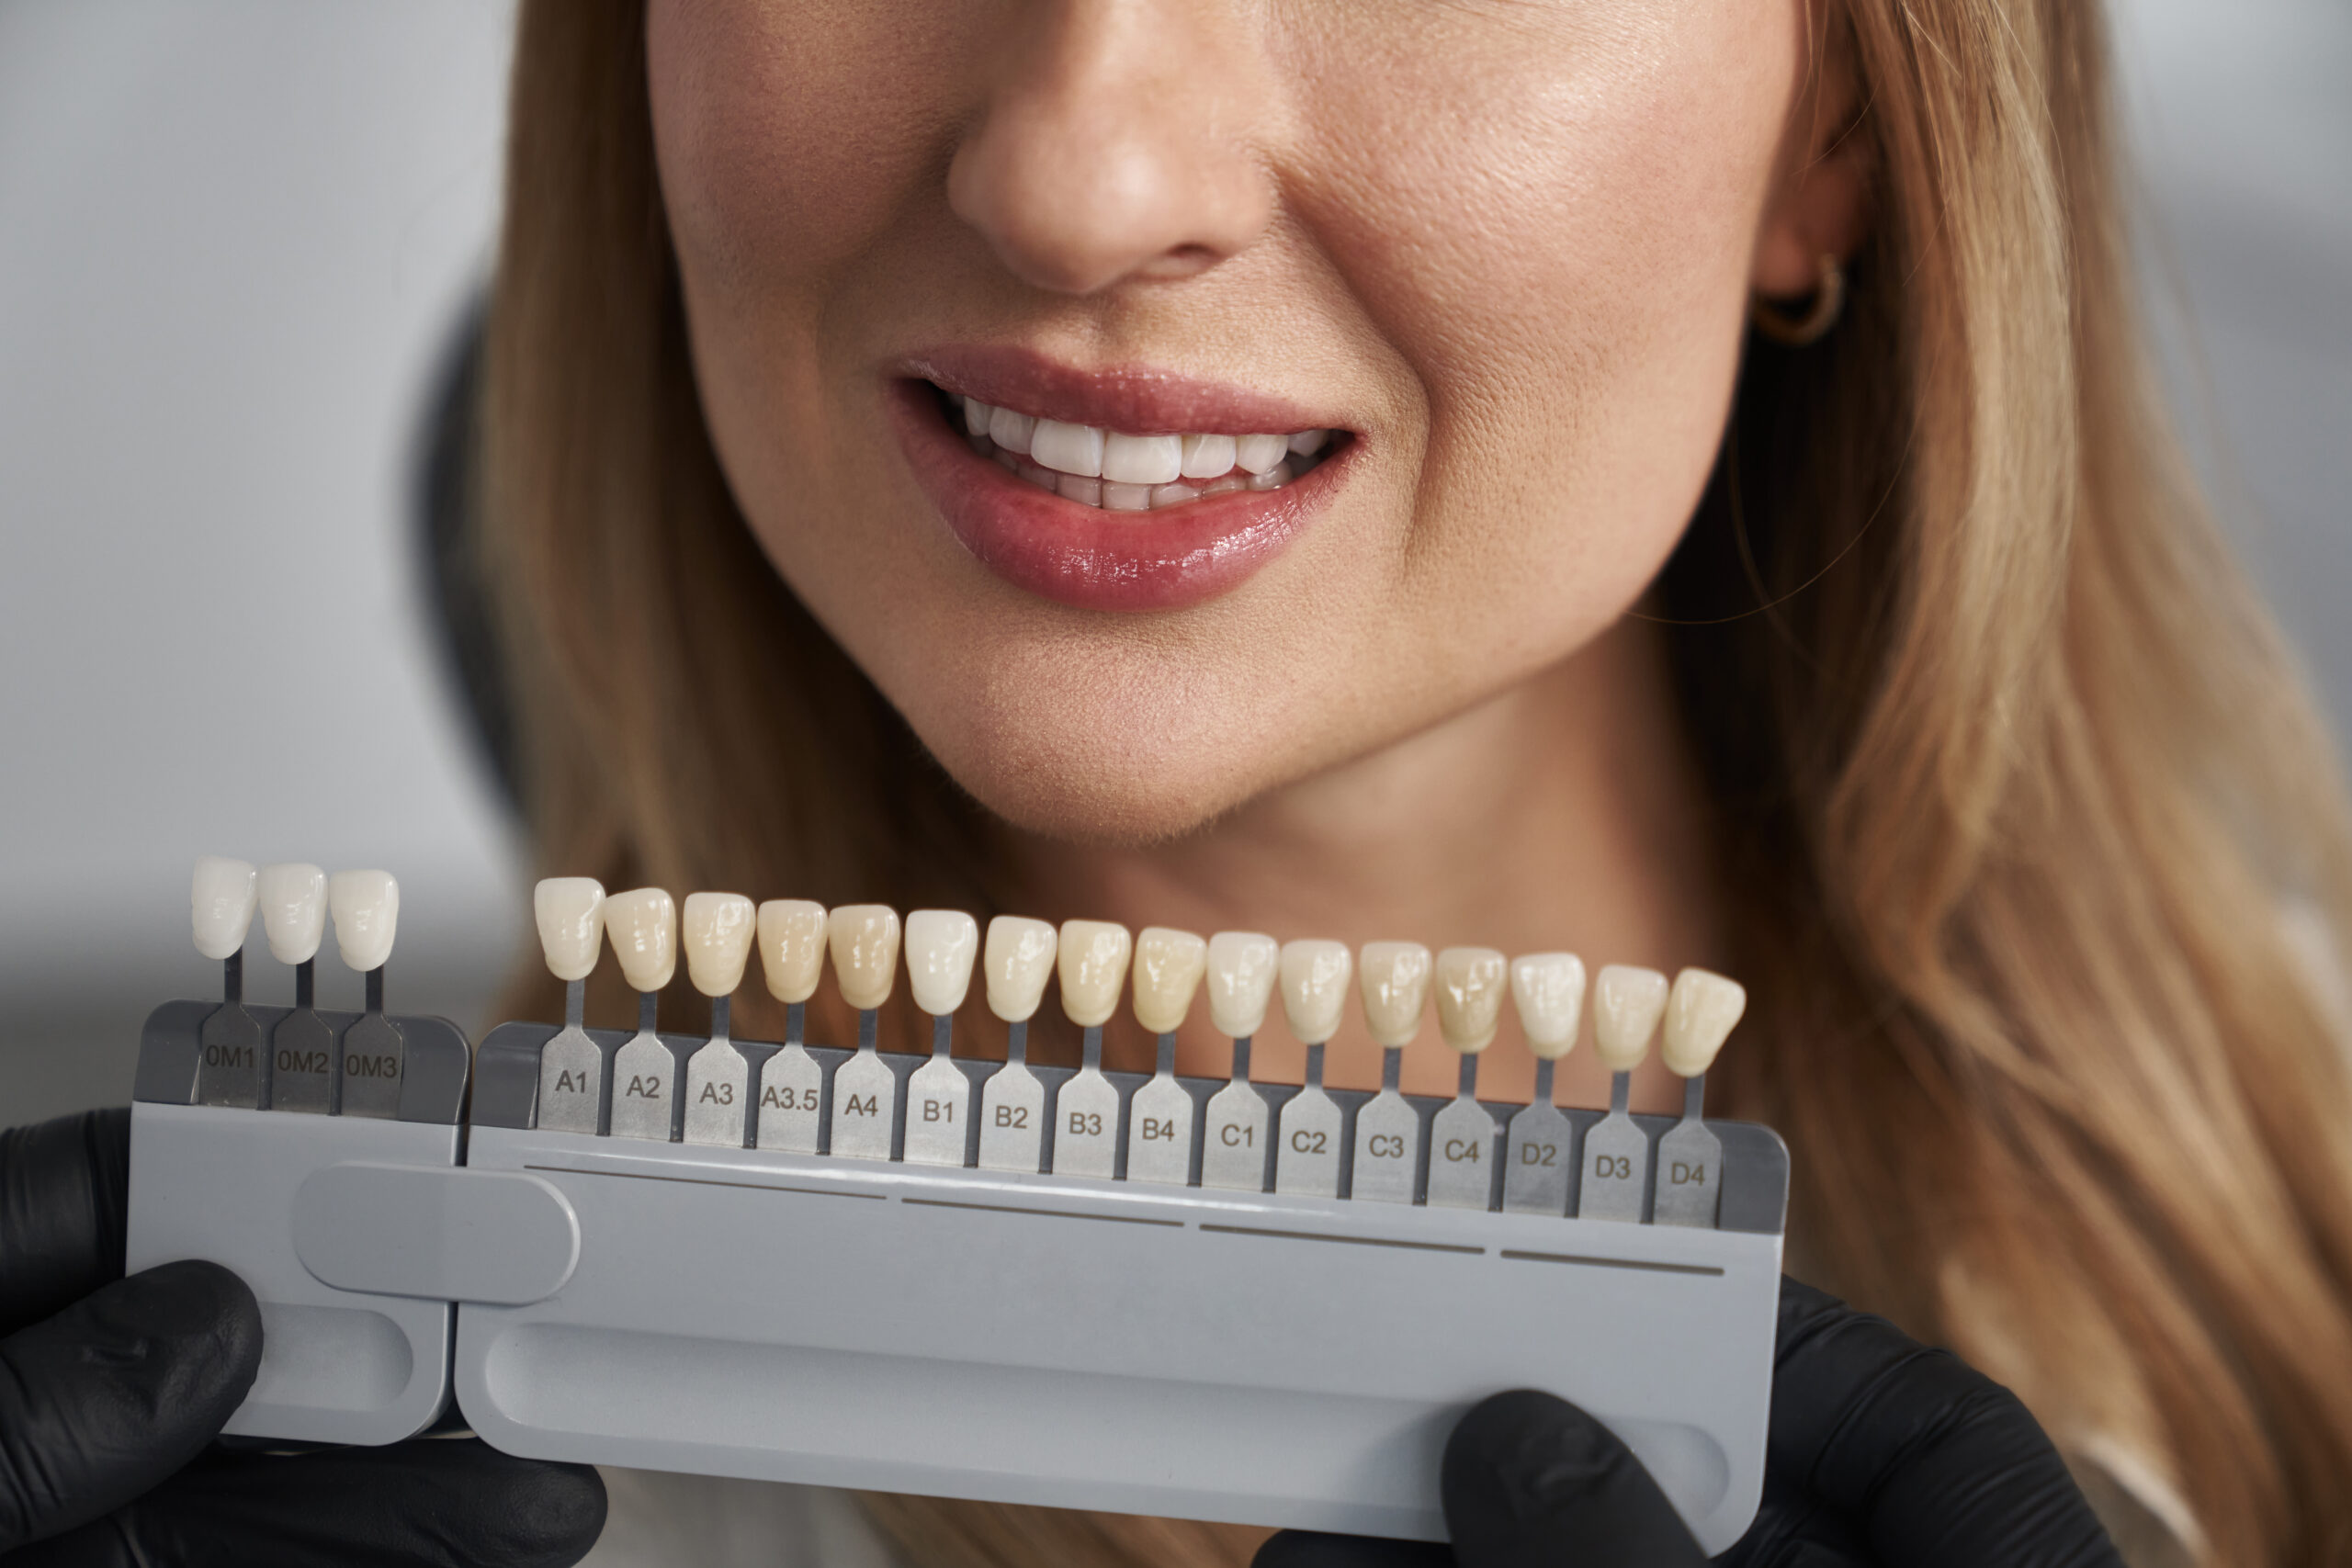
2. Discussing the Perfect Shade and Shape
Veneers are designed to match your facial features, smile line, and even your skin tone. During this stage, your dentist will help you choose the right color and shape that best complements your smile. It’s a collaborative process to make sure the final look feels like you.
3. Preparing the Teeth
To make space for your veneers, a small amount of enamel is gently removed from the front surface of the teeth. This ensures a seamless fit once the veneers are applied. The amount removed is minimal — typically less than a millimeter — but it’s an important step for achieving a natural appearance.
4. Taking Impressions
Once the teeth are prepped, impressions (or digital scans) are taken. These impressions are sent to a dental lab where your custom veneers are crafted with precision. The goal is to make veneers that look and feel like your natural teeth.
5. Temporary Veneers Placement
While waiting for your permanent veneers, you may receive temporary ones to protect your teeth and give you an idea of what your new smile will look like. This allows you to adjust to the feel of veneers and share any feedback with your dentist before final placement.
6. Custom Veneer Fabrication
In the dental lab, skilled technicians use your impressions to create thin porcelain or composite resin veneers that match the agreed design. The process usually takes one to two weeks, depending on the case and materials used.
7. Veneer Bonding and Final Adjustments
Once your permanent veneers are ready, your dentist will place them on your teeth to check the fit, color, and overall look. After any necessary adjustments, a special adhesive is used to bond the veneers securely to your teeth. A curing light then hardens the adhesive, ensuring a long-lasting hold.
8. Smile Reveal and Aftercare
The final step — seeing your new smile! Your dentist will polish the veneers and check your bite for comfort. You’ll also receive aftercare instructions to maintain your veneers, such as regular brushing, flossing, and avoiding habits like biting hard objects. With proper care, dental veneers can last for many years, keeping your smile radiant and confident.
Get the Smile You’ve Always Wanted – Visit Mercier Dental
Dental veneers can make a remarkable difference if you’ve been thinking about enhancing your smile. They offer a natural, durable, and beautiful way to transform your teeth with minimal effort. At Mercier Dental, we’re here to help you every step of the way — from consultation to your final smile reveal.
Ready to start your journey toward a brighter, more confident smile? Request an appointment with our dental team today.